How to Set up Docker for XM Cloud Dev in a Full-Stack Local XM Cloud Dev Environment? No worries. QEdge will walk you through the whole process of a local XM Cloud development environment using Docker.
This Docker for XM Cloud Dev Tutorial is written by Yongmao Yu, a Sitecore Content Hub Administrator Certification winner and experienced developer from Qedge.
Yongmao, we really appreciate your effort!
So, let’s get started.
1. Dos and Donts while running Local Docker
Check for port conflicts with Solr on your local machine. Adjust port mapping in the docker-compose.yml file according to the actual situation.

Check the ports occupied by local solr
Get-Process -Id (Get-NetTCPConnection -LocalPort 8984).OwningProcessStop the service that occupies the port
Stop-Service -Name "<the name of your service>"local IIS service needs to be stopped
check if port 443 is occupied
Get-Process -Id (Get-NetTCPConnection -LocalPort 443).OwningProcessSince iis occupies port 443 , the local iis service needs to stop
iisreset /stopDo Not Run VPN
2. Run Docker
.\init.ps1 -InitEnv -LicenseXmlPath "<C:\path\to\license.xml>" -AdminPassword "<desired password>".\up.ps1Now, Let's pull data from the remote to the local docker
3. Item serialization configuration
Add serialization configuration file
{
    "$schema": "../../.sitecore/schemas/ModuleFile.schema.json",
    "namespace": "Play",
    "items": {
        "includes": [
            {
                "name": "xaplaceholder",
                "path": "/sitecore/layout/Placeholder Settings/Foundation/JSS Experience Accelerator/Placeholder Settings",
                "allowedPushOperations": "CreateUpdateAndDelete"
            },
            {
                "name": "placeholder",
                "path": "/sitecore/layout/Placeholder Settings/Project",
                "allowedPushOperations": "CreateUpdateAndDelete"
            },
            {
                "name": "rendering",
                "path": "/sitecore/layout/Renderings/Project",
                "allowedPushOperations": "CreateUpdateAndDelete"
            },
            {
                "name": "templates",
                "path": "/sitecore/Templates/Project",
                "allowedPushOperations": "CreateUpdateAndDelete"
            },
            {
                "name": "contentRoot",
                "path": "/sitecore/content/Play",
                "allowedPushOperations": "CreateUpdateAndDelete"
            },
            {
                "name": "media",
                "path": "/sitecore/Media Library/Project/Play",
                "allowedPushOperations": "CreateUpdateAndDelete"
            }
        ]
    }
}
Commands( from logging in XM Cloud to connecting to the current project/environment after login)
//Login
dotnet sitecore cloud login
//get project list
dotnet sitecore cloud project list
//obtain envirment based on project id
dotnet sitecore cloud environment list --project-id <project-id>
//connect
dotnet sitecore cloud environment connect -id <environment-id> --allow-write true
After a successful connection, you can see that .sitecore/user.json will have an endpoint after successful connection
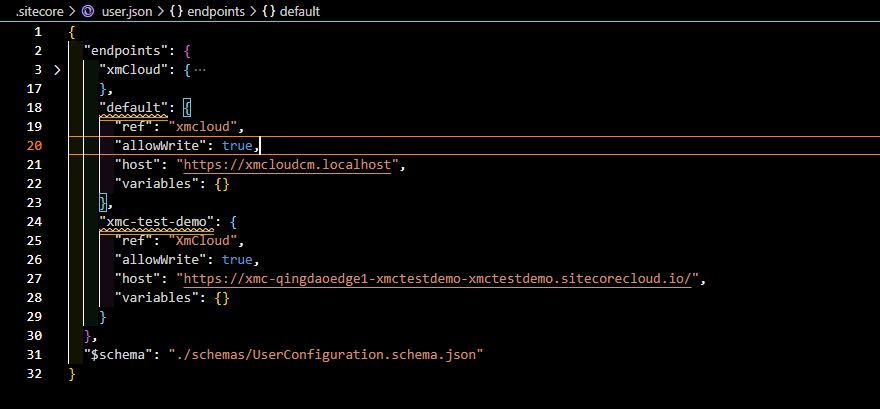
Connect to docker local environment (local environment)
Note: before running the local connection command, you need to run .\up.ps1 to start the docker service and make sure that https://xmcloudcm.localhost/ can be accessed normally, and you need to turn off VPN
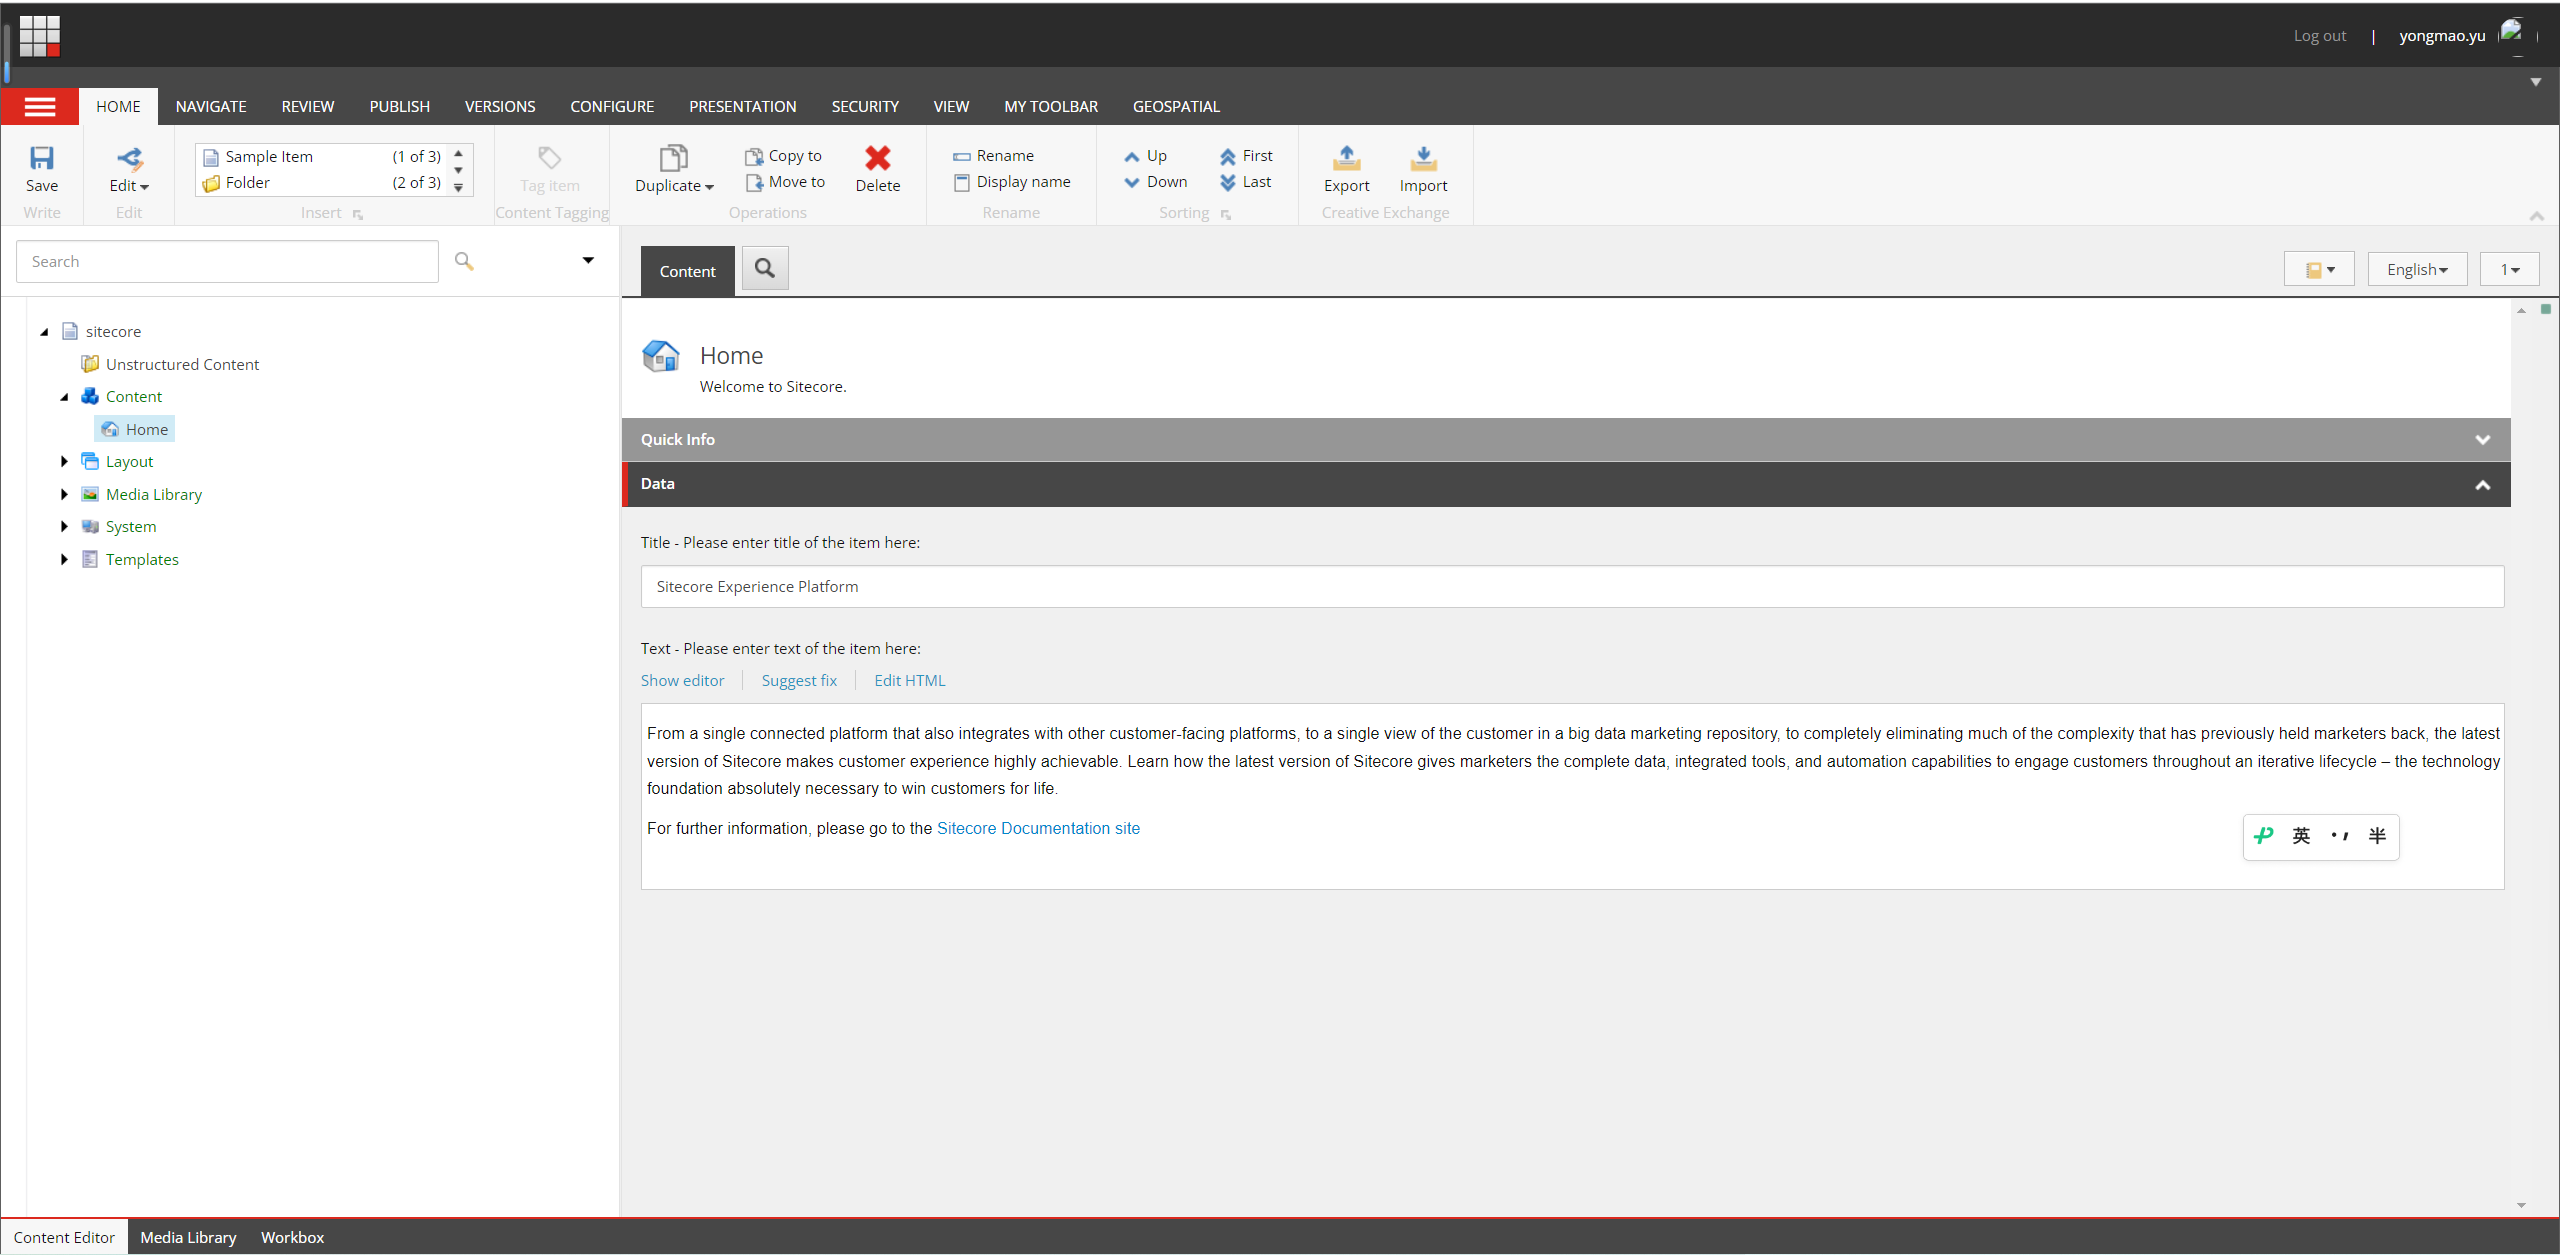
The following is the Sitecore local environment before syncing the online XM Cloud
dotnet sitecore connect --ref xmcloud --cm https://xmcloudcm.localhost --allow-write true -n localAfter a successful connection, the local endpoint will be added to user.json
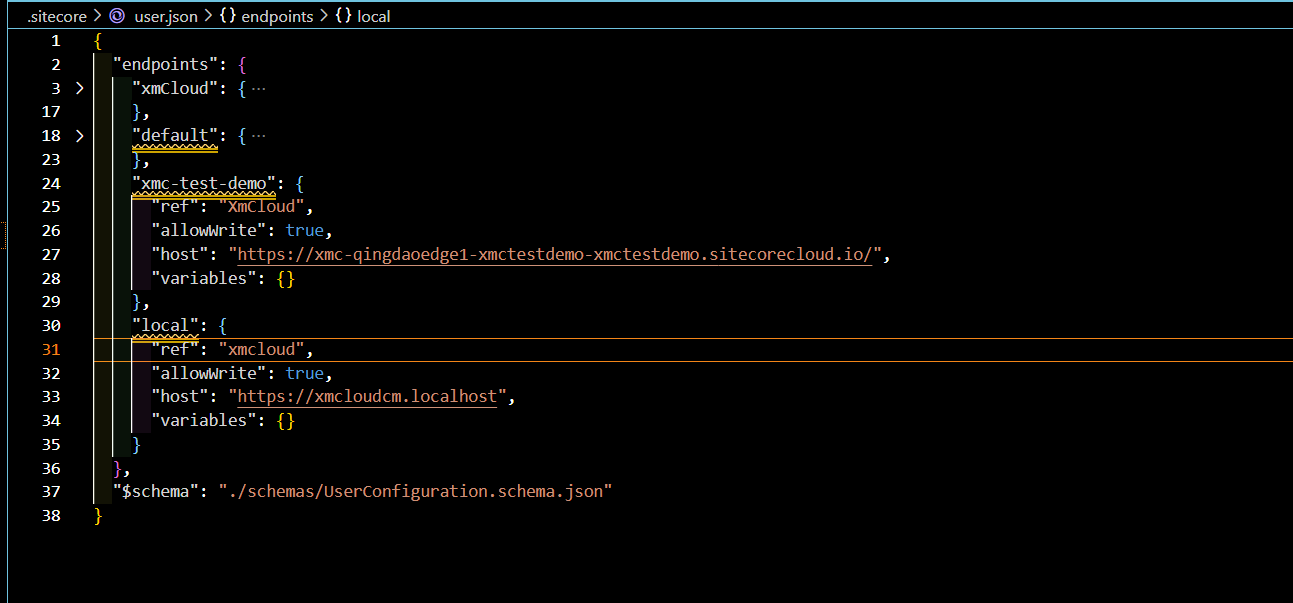
After configuring remote (xmc-test-demo) and local (local) nodes, you can run the sync command to sync the rermote and local items
dotnet sitecore ser pull -n "xmc-test-demo"
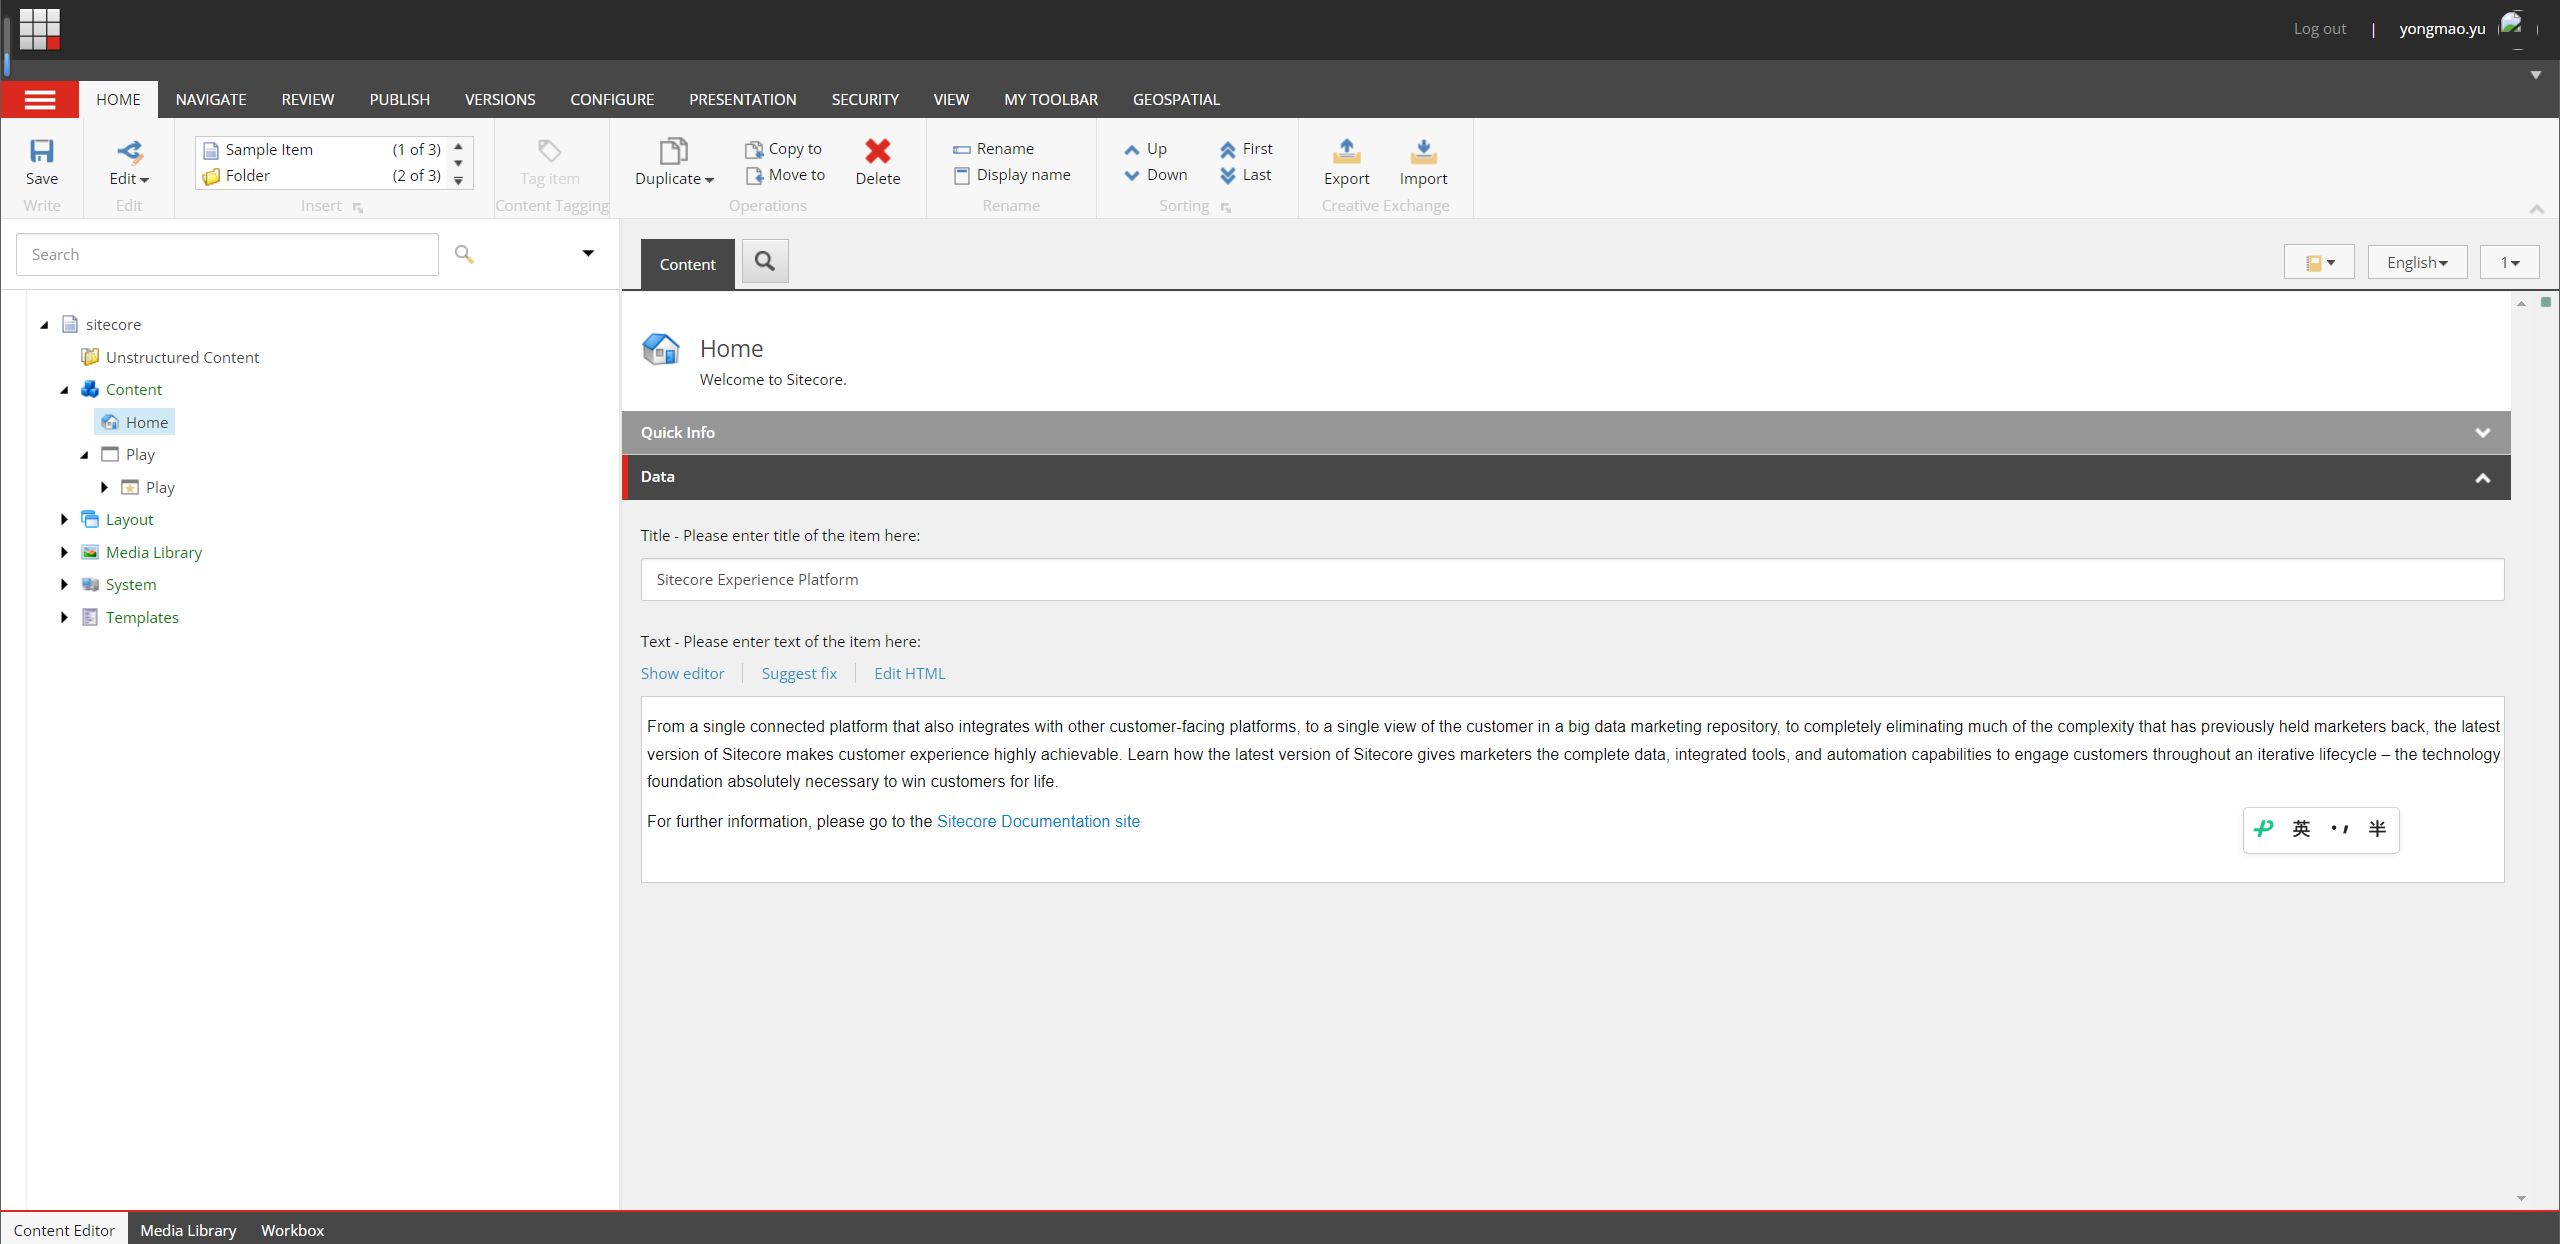
dotnet sitecore ser push -n "local"After the synchronization is complete, the Play node will be added to the local Sitecore's content tree
It should be noted that when executing the synchronization command, you need to close the VPN software, otherwise the command to synchronize to the local docker will report an error:

